Prince Fastener:Tightening test of threaded fasteners
Tightening test of threaded fasteners Prefaces Threaded fasteners are the most common connecting parts in mechanical products, and bolts and nuts are the most widely used parts. Threaded fasteners are primarily uncomplicated, and their fastener manufacture and assembly may seem unremarkable. But countless quality accidents remind people not to underestimate the seemingly simple threaded fasteners. Manufacturing and assembly are the two keys to the quality of threaded fasteners.
In a sense, the impact of assembly quality on threaded fasteners is even more significant than their manufacturing quality. With the miniaturization of mechanical parts and the improvement of connection requirements, assembly quality has attracted more and more attention. The most concerned and researched subject is how to make the actual tightening force of threaded fasteners accurately or more accurately approach the theoretical tightening force (that is, the tightening effect).
1 Tightening force of threaded fasteners The tightening force P. of threaded fasteners is generally achieved by controlling torque M, based on the following relationship between P. and M: MO.OOlPMtO.ies/dM+ O+RM/dM) Table 1 Four threaded fastener assembly methods Fastening effect comparison of Prince Fastener Co., Ltd. Technology Center.
f Friction coefficient Rm The average radius of the bearing surface of the head of the nut or threaded fastener mm Obviously, it is very imprecise to use the torque M to control Po. Because there is a friction coefficient f that varies greatly and is difficult to determine precisely in the relationship between the two, it is affected by the roughness of the thread surface and seat surface, lubricant, tightening speed, tightening tool, temperature changes during repeated tightening, etc.
Due to uncertain factors, the real tightening force is very scattered, and the fluctuation limit is about ±40%. After analyzing the damage caused by various threaded fasteners, it is found that products with the right design and qualified technology and materials are primarily due to loose threads. Caused. Looseness is caused by the insufficient tightening force of the actual fastener under the action of various external forces (although the torque wrench has guaranteed the theoretical tightening force) or the relative sliding between the threaded fastener and the connected piece.
That is to say, due to the inconsistency between the actual tightening force and the theoretical tightening force of the mechanical parts connected by the simple torque method, the tightening effect of the threaded fastener is affected. Therefore, this method of assembling by torque can be used to connect general mechanical parts. Still, it is likely to cause problems if used in mechanical connections subject to high alternating stress. Precise control of tightening force is the best way to improve the tightening effect of threaded fasteners. The tightening test is essential to formulating a precise tightening process (i.e., tightening process optimization) and achieving precise control of the tightening force.
Suppose Cl and c2 are the stiffness of the threaded fastener and the connected piece. In that case, X is the elongation when the threaded fastener is tightened, V is the compression amount when the connected piece is tightened, and P. is the tightening of the thread, The tightening force of the fastener near yield, the axial displacement of the nut (or threaded fastener) should be. The rotation angle of the nut (or threaded fastener) is because. 2 and 3 are relatively determined values with little change, so e is also a determined value.
Since C| and c2 do not change much, controlling the rotation angle of the nut (or threaded fastener) can ensure the consistency between the actual tightening force and the theoretical tightening force. Since the variation of p near the yield region is relatively small, the yield region torque + angle method has less dispersion than the simple torque method.
From the above analysis, it can be seen that if the deformation is directly used to measure people. To control p. is the most reliable way. This makes sense in theory, but it is very troublesome in practice due to the need for special measuring devices, not to mention the elongation of some screws that cannot be measured.
Therefore, although this assembly method has high precision, it is used in Table 2. The advantages and disadvantages of the assembly method’s two torque + angle methods are compared. Bolts (the maximum elasticity of the bolts is higher than the simple torque Faro, the consistency of the flanges is good, and the final torque can be controlled to avoid thread bite, broken teeth, etc. less than 0.05mm) yield area torque + angle method Luke can provide accurate tightening force values (based on tensile strength) to make the locking stress of all bolts consistent.
Requires tensile strength dispersion of bolts. It is not suitable for short bolts with small turning angles (the maximum elasticity of the bolts is to make full use of the bearing capacity of the bolts, and the length is less than 0.05mm) Table 3. Preloading effect of the two assembly methods * maximum tightening force kN * minimum tightening Force kN elastic area torque + angle method yield area torque + angle method torque (Nm) is not much.
Based on the above analysis of the tightening force, there are several different methods for assembling threaded fasteners.
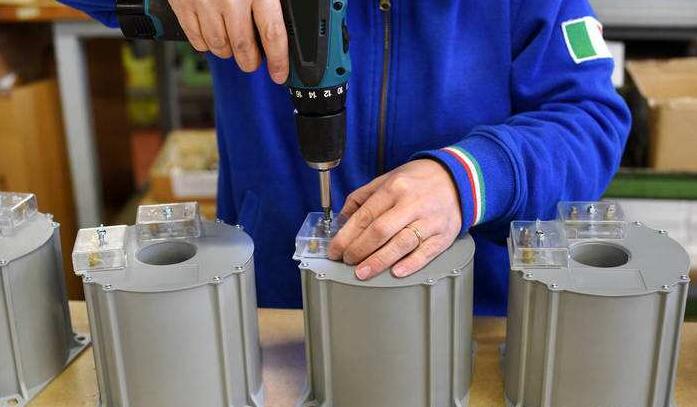
2 Common threaded fastener assembly methods There are currently four standard threaded fastener assembly methods: torque in the elastic region + torque in the yield (plastic) region of the angle method + angle method. The above four threaded fastener assembly methods are The tightening effect is shown in Table 1. Using the results of the tightening test (mainly the tightening force-rotation angle curve, the torque 41 angle curve, and the elongation-tightening force curve), the tightening process can be easily formulated. The simple torque method is relatively simple.
First, the designer determines the tightening force P. required by the threaded fastener and then finds the corresponding rotation angle ctTcm* on the tightening force-rotation angle curve according to the tightening force P. Then, according to r, The corresponding torque M is found on the torque-angle curve. This torque M is the assembly torque (the determination of the assembly process of the torque + angle method is more complicated than the simple torque method: first, according to the tightening force required by design, in the tightening test, Find the corresponding rotation angle CXtot on the drawn tension pedicle angle curve; find the a1 corresponding to the pre-torque on the torque-rotation angle curve; the effective rotation angle after-a of the actual assembly. When assembling, press the threaded fastener first Pre-torque a, tighten, then turn an EFT angle.
The difference between the elastic area torque + angle method and the yield bending area torque + angle method is that the tightening force of the former is designed in the elastic area of the tensile curve of the threaded fastener, while the latter design the tightening force in the yield area.
However, the assembly effect of the two methods and the requirements for threaded fasteners and assembly equipment is different. Table 2 compares the advantages and disadvantages of the two assembly methods.
Table 3 shows the tightening force and statistical analysis results of two bolt methods. It can be seen from Table 3 that the tightening force of the bolts in the yield area is very concentrated; 3 (7) is only 3.2% of the average value. The tightening force in the elastic area is more dispersed, and its 3cr/Mean=15.3%. Therefore, the torque in the yield area is. The assembly accuracy of the + angle method is higher than that of the elastic area torque + angle method.
This is a basis. =.1.|, a method of directly using the elongation of threaded fasteners to control the tightening force. Therefore, its assembly precision is exceptionally high, and the tightening force during assembly fully conforms to the expected force of the design. Measuring the elongation of threaded fasteners is expensive because it is tricky expensive. This assembly method cannot be used in production until an easy method for measuring elongation is found.
The tightening test is also required before assembly by the elongation measurement method, and the tightening force 4 length curve is made. According to the tightening force provided by the designer, the corresponding elongation is found on the tightening force 4-length curve. The tightening force of the threaded fastener is controlled by measuring the elongation of the threaded fastener during assembly.
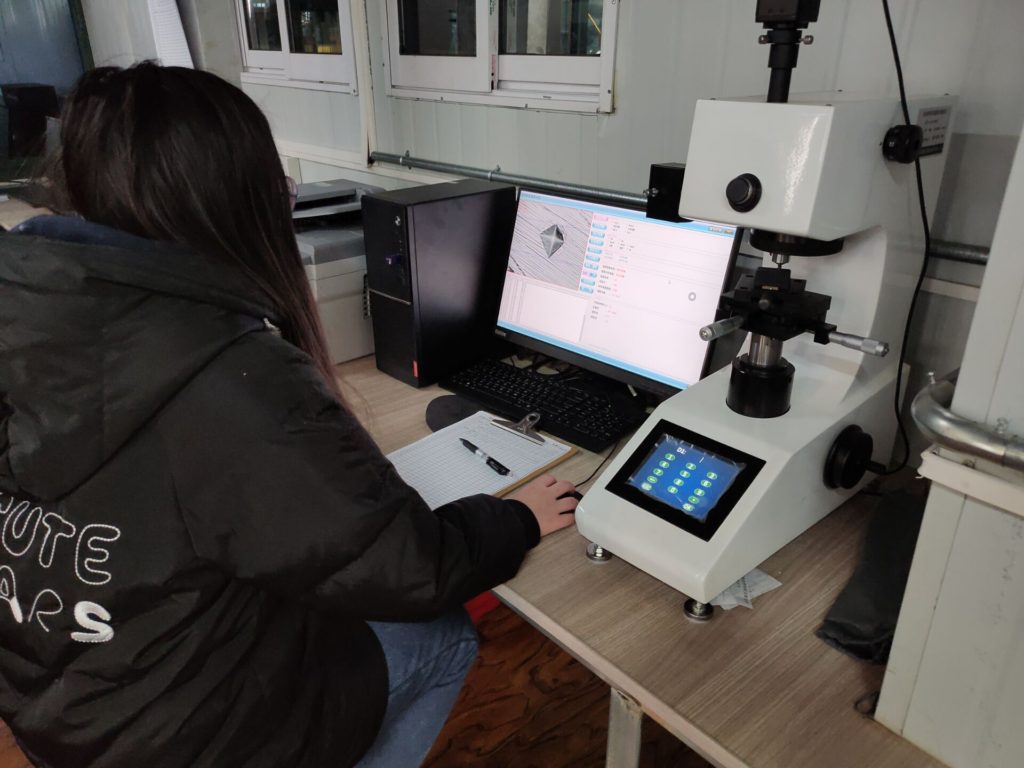
3. Tightening test principle of threaded fasteners The tightening test principle of threaded fasteners is as shown: use a motor to drive a tightening device (such as a sleeve) to tighten threaded fasteners and use force sensors, angle sensors, and torque sensors to measure the thread. The fastening force of fasteners, angle of rotation (rotation angle), torque (torque at the threaded part, torque on the head bearing surface, and total torque), friction coefficient (friction coefficient at the threaded part, friction coefficient on the head bearing surface and total friction coefficient). The sensor’s signal is input to the computer through A-D conversion. After processing with the appropriate software, the computer prints out the tightening force angle curve, torque-rotation angle curve, and statistical processing data of tightening force, torque, and friction coefficient.
In addition, using the hydraulic principle, the tightening force-length curve is made through the force sensor and the displacement sensor.
4 Failure analysis case of threaded fasteners A crankshaft pulley bolt of an engine, grade 12.9, surface galvanized, assembled by torque method. A U-turn occurs during use. It was later changed to galvanized for DACRO treatment. But the phenomenon of “stretching” appeared again.
In addition to tightening the crankshaft pulley, this bolt also requires an excellent anti-loosening ability. That is to say, a more significant friction force is required between the bearing surface of the bolt head and the end face of the crankshaft head. That is to say, this bolt must consider both the functions of preloading and anti-loosening.
After inspection, the metallographic structure, tensile strength, and hardness of the bolts meet the technical requirements, but the fracture of the U-turn bolt has the characteristics of hydrogen embrittlement.
The bolt tightening test results show that under the same torque, the tightening force of DACRON bolts is 31.7% higher than that of galvanized bolts. Since the assembly torque is determined according to the friction coefficient of galvanized bolts, if DACRON bolts are used instead, it will not change. Assembly torque, due to its reduced friction coefficient, the tensile force on the bolt will increase by more than 30%, which may reach or exceed the yield strength of the bolt, and the bolt may undergo plastic deformation.
The bolt tightening test results also show that under the same tightening force, the friction coefficient of galvanized bolts is 56% higher than that of DACRON bolts on average. If the assembly torque of DACRON bolts is changed, it can reach the tightening force of galvanized bolts. Since the frictional force is proportional to the positive pressure, the frictional force between the bearing surface of the bolt head and the end face of the crankshaft head cannot meet the requirements of anti-loosening. It can be seen that the original design adopts galvanized treatment because of its significant friction coefficient, which is beneficial to increasing the self-locking ability.
Based on the above analysis, three solutions are proposed: Option 1: Use galvanized bolts but strengthen the dehydrogenation treatment; Option 2: Use DACRON bolts but require their friction coefficient Option 3: Use DACRON bolts and take additional anti-loosening measures.
Option 1 was finally adopted, and the problem was solved.
5 Conclusion The tightening test can provide a reliable basis for the assembly process of various threaded fasteners. The four methods of threaded fastener assembly methods are formulated according to the results of the tightening test. Each of the four assembly methods has its own merits. The specific operation should comprehensively consider various factors such as tightening requirements, equipment conditions, the quality level of threaded fasteners, and cost.
In addition, the tightening test also contributes to the failure analysis and quality improvement of threaded fasteners. The tightening test has been widely used abroad, and a few domestic companies also carry out this work. It is believed that with the continuous development of the machinery industry, the tightening test will be recognized by more and more people, and the tightening test will also become a necessary test in the mechanical performance test.
