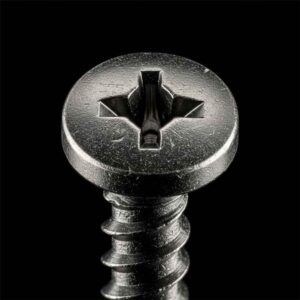
You can fix a stripped hex screw with a few proven tricks. Try a rubber band for extra grip, or use a screw extractor for tough cases. Using the right tools makes the job safer and easier. Check out the table below for expert-recommended methods:
| Method | الوصف |
|---|---|
| Apply More Expert Tools | Use long-arm or premium hex wrenches for leverage. |
| Friction Increase | Insert a rubber band or steel wool to boost grip. |
| Apply Specific Tools | Use a hex screw extractor or impact screwdriver for controlled removal. |
النقاط الرئيسية
- Put a rubber band or latex glove over the stripped hex screw to get a better grip. These ways are fast and do not cost much money.
- If these easy tricks do not work, try a screw extractor or epoxy for harder jobs. These tools hold the screw better and can help take out stuck screws.
- Always pick the right size tool and push down with even pressure. This stops more damage to the screw and helps you take it out more easily.
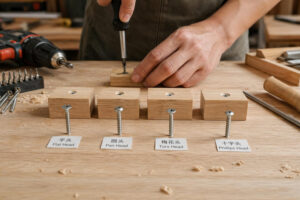
Stripped Hex Screw Quick Fixes

Rubber Band Method
The rubber band method is a favorite among DIYers for a reason. You can use this trick when you need a quick fix for a stripped hex screw. Here’s how you do it:
- Find a wide, thick rubber band. Industrial-quality bands work best.
- Place the rubber band flat over the stripped hex screw head.
- Press your screwdriver or hex wrench firmly into the screw, with the rubber band in between.
- Turn the tool slowly and with steady pressure, moving counterclockwise to unscrew a stripped hex screw.
نصيحة: Go slow and use high torque. Fast turning can make the problem worse.
Why does this work?
- The rubber band fills the gaps in the stripped hex screw, giving your tool more grip.
- Many people find this method cost-effective and easy to try first.
- Sometimes, even a thick rubber band can’t help if the screw is too damaged. If that happens, try another method.
Troubleshooting:
- If the rubber band slips or breaks, try a thicker one.
- Make sure you use the right size screwdriver or hex wrench. The wrong size can make the screw even harder to remove.
- If the screw won’t budge, don’t force it. You might need a more advanced fix.
Latex Glove Trick
You might have heard about using a latex glove to get extra grip on a stripped hex screw. Here’s how you can try it:
- Cut a small piece from a latex glove.
- Place the piece over the screw head.
- Push your screwdriver or hex wrench into the screw, pressing through the glove.
- Turn slowly and see if the screw loosens.
ملاحظة: Studies show that latex gloves do not always prevent further stripping. Sometimes, the glove material slips or tears, and the screw stays stuck.
Safety Tips:
- Don’t use too much force. The glove can rip and your hand might slip.
- If you feel the tool slipping, stop and try another method.
Troubleshooting:
- If the glove tears right away, it might be too thin. Try doubling up the material.
- If you still can’t get the screw out, move on to another quick fix.
Tape Layer Technique
Tape can help you get a better grip on a hex screw stripped by overuse or the wrong tool. Here’s what you do:
- Tear off a small piece of duct tape or use a thick rubber band.
- Place the tape over the stripped hex screw head.
- Press your tool into the tape and screw head.
- Turn slowly and steadily to try to remove the screw.
نصيحة: Duct tape works well because it’s sticky and thick. It can fill the stripped spaces and help your tool catch.
Why use tape?
- Tape increases friction and reduces slippage.
- It’s easy to find and quick to use.
Troubleshooting:
- If the tape bunches up or slips, try a fresh piece.
- Make sure your tool fits snugly. Using the wrong size can make things worse.
- If the screw still won’t move, don’t force it. You might need a different approach.
Superglue and Baking Soda
This method is a bit more advanced, but it can work wonders for a stubborn stripped hex screw. Superglue and baking soda create a strong bond that helps your tool grip the screw.
Steps:
- Clean the screw head to remove any oil or dust.
- Sprinkle a small amount of baking soda onto the stripped hex screw.
- Add a drop or two of superglue on top of the baking soda.
- Wait a few minutes for the mixture to harden. The baking soda makes the glue cure faster and stronger.
- Press your screwdriver or hex wrench into the hardened mixture.
- Turn slowly to try to take out the stripped hex screw.
Safety Alert:
- Work in a well-ventilated area. Superglue fumes can be harmful.
- Wear gloves to protect your skin. The glue can bond skin instantly.
- Avoid using cotton or wool near superglue. These materials can react and cause burns.
- Be careful when handling the mixture. It can get hot as it cures.
Why does this work?
- The chemical reaction between superglue and baking soda creates a tough, fast-setting bond.
- This new surface gives your tool something to grip.
Troubleshooting:
- If the glue doesn’t harden, add a bit more baking soda.
- If the screw still won’t move, don’t keep adding glue. Try a different removal method.
Common Reasons Quick Fixes Fail:
- Using the wrong size or type of tool.
- Applying too much force too quickly.
- Screws made from soft metal strip more easily.
- Rust or moisture can weaken the screw.
- Screws installed incorrectly are harder to remove.
If none of these quick fixes work, don’t worry. You have more advanced options to try next. Remember, patience and the right technique can help you figure out how to remove a stripped hex screw without damaging your project.
Advanced Stripped Hex Screw Removal
Sometimes, quick fixes just don’t cut it. If you still can’t unscrew a stripped hex screw, it’s time to try some advanced methods. These techniques need a bit more patience and the right tools, but you can do them at home. Let’s walk through each one.
Epoxy Fix
Epoxy can help you get a better grip on a stripped hex screw, especially in metal. Here’s how you can use it:
- Clean the screw head. Remove any oil or dust.
- Mix a small amount of two-part epoxy. Follow the instructions on the package.
- Fill the stripped hex screw head with the epoxy.
- Insert your hex wrench or screwdriver into the wet epoxy. Hold it steady until the epoxy starts to set.
- Let the epoxy cure. Most brands need at least 24 hours for initial hardness, but full strength comes after 72 hours. Fast-curing types may set in about an hour if it’s warm.
- Once cured, turn the tool slowly to try to unscrew a stripped hex screw.
نصيحة: If you’re working with wood, use wood glue instead of epoxy. Wood glue bonds better and is easier to clean up. Epoxy can be too hard and may damage wood. Some epoxy types get hot as they cure and can harm wood surfaces.
Epoxy Curing Facts:
- Most epoxies need 72 hours to reach full strength.
- You can feel some hardness after 24 hours, but don’t rush it.
- Cold weather slows down curing. If it’s below 60°F, the process takes longer.
- Adding gentle heat can help epoxy cure faster.
When to Use Epoxy or Wood Glue:
- Wood glue works best for wood. It creates a strong, flexible bond.
- Epoxy is better for metal, but you must pick the right type and follow the instructions.
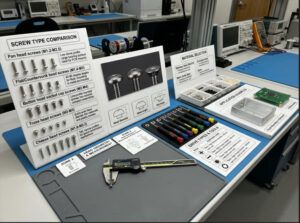
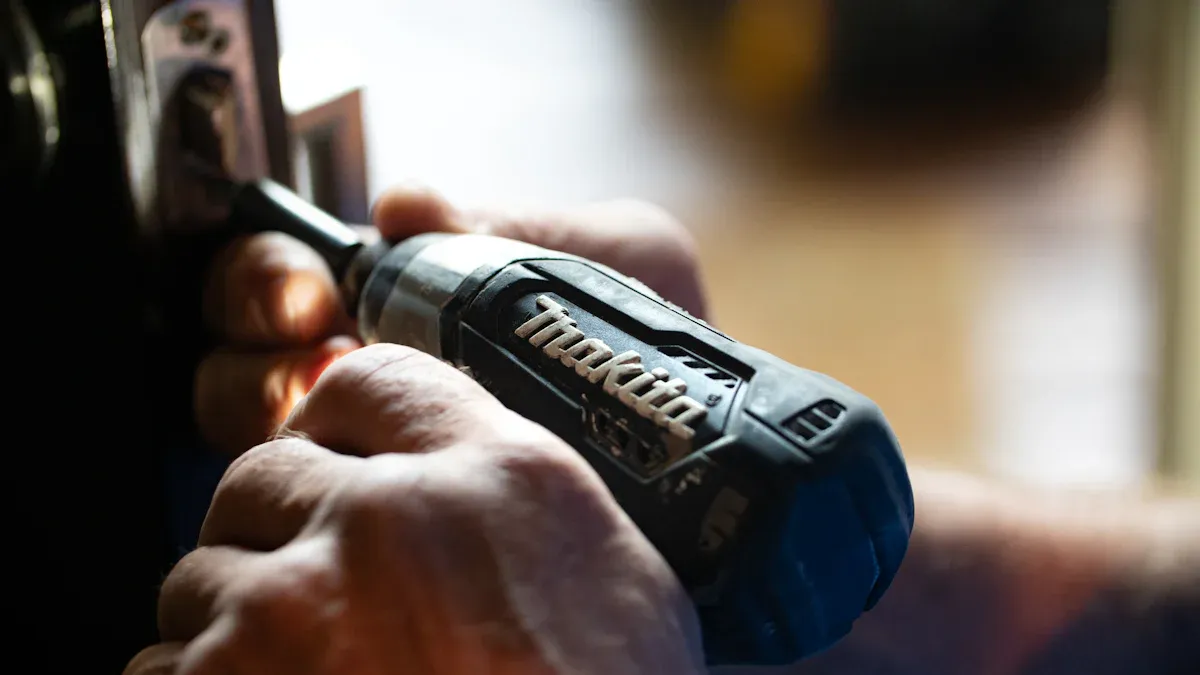
Screw Extractor
A screw extractor is a special tool made for tough jobs. If you want to know how to remove a stripped hex screw that just won’t budge, this tool can save the day.
Steps:
- Pick the right size extractor for your screw.
- Drill a small pilot hole in the center of the stripped hex screw.
- Insert the extractor into the hole.
- Turn the extractor counterclockwise. It should bite into the screw and help you unscrew a stripped hex screw.
Safety Note: Wear safety glasses. Metal shavings can fly up when you drill.
Common Mistakes to Avoid:
- Don’t use too much force. Too much pressure can deform the screw or break the extractor.
- Clean out any rust or dirt before you start. Rust or dirt can block the tool from fitting.
- Cheap screws made from soft metal strip more easily. Use quality tools and screws when possible.
Troubleshooting:
- If the extractor slips, stop and check your pilot hole. It should be centered and deep enough.
- If the extractor breaks, you may need to drill out the screw.
Drilling Out
Drilling out a stripped hex screw is a last resort, but it works when nothing else does. You’ll need a drill and the right bit size.
How to Drill Out a Stripped Hex Screw:
- Choose the correct drill bit size for your screw. Use the table below for guidance.
- Put on safety glasses.
- Drill straight into the center of the screw head. Go slow and steady.
- Once the head is gone, you can often lift off the part you’re working on and grab the screw shaft with pliers.
| Screw Size-TPI | Recommended Hole Diameter | Drill Bit Size |
|---|---|---|
| 00 | 0.052″ | #55 |
| 0 | 0.067″ | #51 |
| 2 | 0.086″ | #44 |
| 4 | 0.104″ | #37 |
| 6 | 0.120″ | #31 |
| 7 | 0.136″ | #29 |
| 8 | 0.144″ | #27 |
| 10 | 0.161″ | #20 |
| 12 | 0.191″ | #11 |
| 14 | 0.221″ | #2 |

نصيحة: Always drill straight. If you angle the drill, you might damage the surrounding material.
Troubleshooting:
- If the drill bit slips, use a center punch to make a small dent before drilling.
- If you can’t remove the screw shaft with pliers, try a screw extractor next.
Re-tapping
If you’ve drilled out a screw and the hole is damaged, you may need to re-tap it. Re-tapping means you cut new threads so you can put in a new screw.
How to Re-tap a Hole:
- Pick the right size tap for your hole.
- Insert the tap straight into the hole.
- Turn the tap slowly, making sure it stays straight.
- Back the tap out every few turns to clear out metal shavings.
Caution: If you don’t drill the hole straight or if you turn the tap at an angle, you can damage the surrounding material. This can make the hole too big or break the tap inside the hole.
Risks to Watch For:
- Misalignment can break the tap or the extractor.
- If the tap breaks, it’s very hard to remove and can ruin your project.
- Always go slow and check your alignment often.
نصيحة محترف: If you’re not sure about re-tapping, ask for help at your local hardware store. They can show you the right tap and give you tips.
You now have several advanced ways to tackle a hex screw stripped beyond a quick fix. Whether you use epoxy, a screw extractor, drilling, or re-tapping, take your time and use the right tools. If you ever wonder how to take out a stripped hex screw or how to remove a stripped hex screw, these steps will help you get the job done safely.
You have many ways to fix a hex screw stripped by over-tightening or using the wrong tool. Pick a method that matches your skill. Always use the right size bit and keep your tool straight.
- Too much torque or the wrong screwdriver can make it harder to unscrew a stripped hex screw.
Stay safe and take your time.
الأسئلة الشائعة
How do you know when a hex screw is stripped?
You see the tool slipping or spinning inside the screw head. The edges look rounded. It feels hard to unscrew a stripped hex screw.
What should you do first if you can’t unscrew a stripped hex screw?
Try the rubber band method. Place it over the hex screw stripped head. This trick often helps you get enough grip to unscrew a stripped hex screw.
Can you still use the hole after you remove a stripped hex screw?
Yes, you can re-tap the hole. This lets you put in a new screw. You just need to know how to take out a stripped hex screw first.